
I absolutely adore making treats that are not only delicious but also fun and festive, especially when the season calls for a little spooky magic! This Spooky Marshmallow Pops Recipe is one of my go-to creations when I want to bring a playful twist to dessert time. Soft marshmallows dipped in colorful candy coatings and decorated with googly little eyes bring out the kid in me every time. I love how simple and joyful this recipe is to make, and it’s always a hit at parties and Halloween gatherings. If you’re looking for a sweet, easy, and delightfully creepy treat, this Spooky Marshmallow Pops Recipe will become your new favorite too.
Why You'll Love This Spooky Marshmallow Pops Recipe
What really draws me to this recipe is the perfect blend of sweet and playful flavors. The marshmallows are pillowy soft, and when dipped in that smooth candy coating, they turn into little crunchy, colorful pops of bliss. The candy coating adds just the right amount of sweetness and texture, and the sprinkles give each pop a burst of fun crunch that keeps every bite exciting. I love how the candy eyes add personality and humor, making these treats as much fun to look at as they are to eat.
Another thing I adore about this Spooky Marshmallow Pops Recipe is how incredibly easy it is to prepare. You don’t need to be a baking pro to pull these off—the melting, dipping, and decorating process is quick and straightforward, perfect for when I want to whip up something festive in a flash. I especially enjoy doing this activity with my family or friends, where everyone can get creative with decorating. It’s such a joy to see all the unique spooky faces come to life!
These marshmallow pops are an absolute crowd-pleaser at Halloween parties, classroom treats, or even for a fun movie night at home. What really makes this recipe stand out is how customizable and approachable it is. You can mix and match candy coatings and sprinkles to fit whatever spooky theme you’re aiming for, making it a versatile favorite. And honestly, the smiles these little pops bring make every moment of effort totally worth it.
Ingredients You'll Need
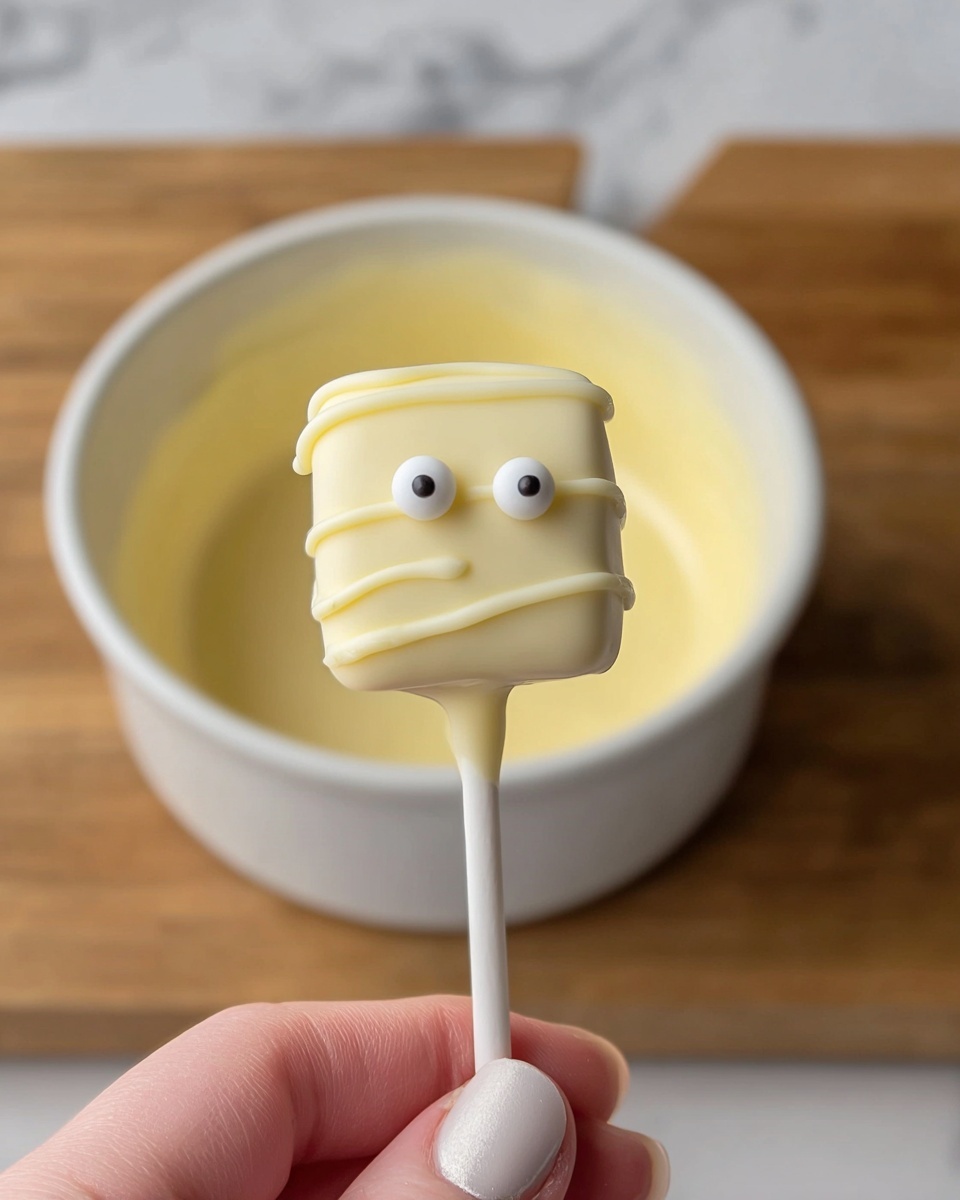
The beauty of this recipe is in its simplicity. A handful of basic ingredients come together to create a treat that’s both visually appealing and delicious. Each component plays a crucial role — the marshmallows bring the fluffy, sweet base; the candy coating provides a glossy, colorful shell; and the candy eyes add that perfect spooky touch.
TIP : You'll find the full list of ingredients and measurements in the recipe card below
- Large marshmallows: The fluffy base that makes these pops soft and sweet.
- Candy coating: Adds vibrant color and a satisfying crunch after it sets.
- Candy sprinkles: For extra fun texture and a pop of festive color.
- Small candy eyes: Essential for that spooky personality and charm.
- Paper straws or cake pop sticks: Makes handling and dipping easy while giving the pops a whimsical look.
Directions
Step 1: Start by melting the candy coating in individual microwave-safe bowls according to the package directions. Make sure to stir occasionally for a smooth consistency without burning the coating.
Step 2: Next, insert paper straws or cake pop sticks into one end of each marshmallow, gently pushing until secure but not so far that the marshmallow tears or breaks apart.
Step 3: Dip each marshmallow into the melted candy coating, twisting slightly to coat it evenly on all sides. I find dipping quickly and covering fully gives the best look and taste.
Step 4: Place the coated marshmallow pops upright in a styrofoam block or a similar stand to let the coating harden completely. This usually takes about 10–15 minutes depending on room temperature.
Step 5: While the coating is still tacky, use additional melted candy coating as glue to stick the small candy eyes onto the marshmallows. Then, with a piping bag or a small ziplock bag with the tip snipped very small, use a toothpick to add any additional spooky accents or facial details with leftover coating.
Step 6: Allow all decorations to set fully before serving or packaging to ensure the design holds up and looks fabulous.
Servings and Timing
This Spooky Marshmallow Pops Recipe makes about 10 servings, perfect for sharing with friends or family at a get-together. You can expect to spend roughly 10 minutes on prep, about 15 minutes on dipping and decorating, and around 15 minutes for the candy coating to fully set and harden, bringing the total time to about 40 minutes. There’s no need for baking, which makes it a perfect last-minute treat to prepare without any hassle.
How to Serve This Spooky Marshmallow Pops Recipe
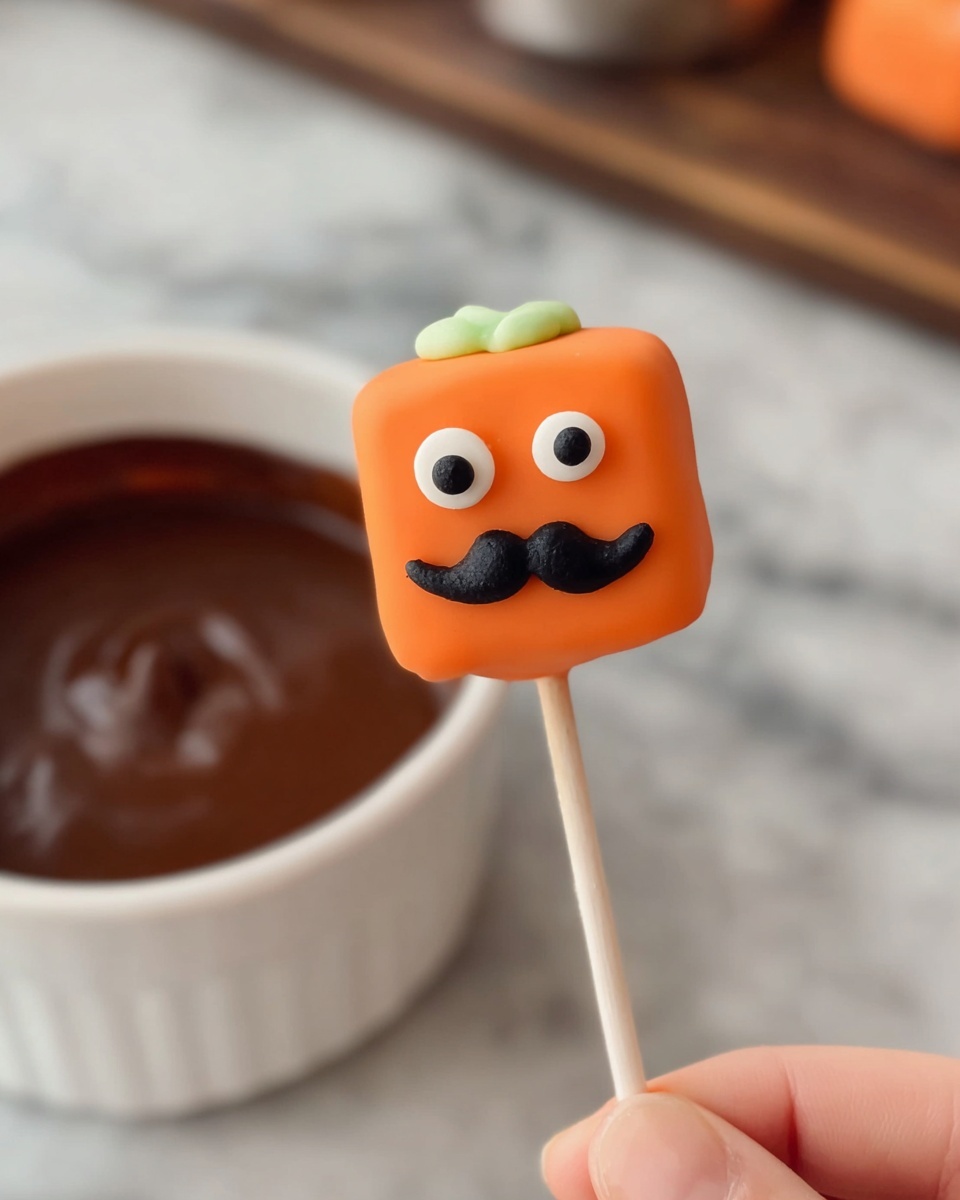
I love serving these marshmallow pops at festive gatherings where their quirky appearance can really shine. They’re perfect as a fun dessert at Halloween parties or even as a whimsical addition to a kids’ birthday party. When serving, I like to arrange them upright in a jar filled with colored sugar or wrapped in cellophane tied with seasonal ribbons for a charming presentation that’s both cute and convenient to grab.
To elevate the experience, try pairing these pops with a scoop of vanilla ice cream or a warm cup of hot chocolate. The contrast of the cold treat with the sweet, crunchy coating creates a delightful balance. Garnishing your serving platter with extra candy sprinkles or edible glitter adds that extra spooky sparkle that guests always appreciate.
These marshmallow pops are best enjoyed at room temperature once the coating has fully set, so they hold their crunch without the candy melting. They also make fantastic take-home treats for party guests, especially when wrapped individually. Whether you’re looking for a sweet snack to enjoy yourself or a fun dessert to wow your friends, these pops bring festive joy in every bite.
Variations
One of my favorite things about this Spooky Marshmallow Pops Recipe is how easy it is to customize based on what you have on hand or your dietary preferences. If you want to mix it up, try using different flavors or colors of candy coating—white chocolate dyed with food coloring, for example, gives great results and lets you match any party theme. For added texture, I sometimes dip the pops in crushed nuts or cookie crumbs after coating.
If you follow a vegan or dairy-free lifestyle, there are excellent dairy-free candy coatings available that work perfectly, and vegan marshmallows ensure no one misses out on the fun. You can also get creative with the eyes and accents by replacing candy eyes with edible markers or fruit leather cutouts for a natural twist.
For a bit of a different twist, I’ve also tried laying the marshmallow pops on parchment and drizzling chocolate over them instead of fully coating to add more dimension to the design. Or, you can coat them in flavored chocolate such as peppermint or caramel for extra complexity. The possibilities are truly endless and always exciting to explore!
Storage and Reheating
Storing Leftovers
After enjoying some of these treats, I like to store any leftovers in an airtight container at room temperature. Keeping them away from humidity is key so the candy coating stays crisp and doesn’t get sticky. Stored this way, the pops usually keep well for 3 to 4 days. I recommend placing parchment paper between layers if stacking to prevent them from sticking together or damaging the decorations.
Freezing
These marshmallow pops don’t freeze very well because the candy coating can crack and lose its glossy texture when thawed. If you do want to freeze them, wrap each pop individually in plastic wrap and place them airtight in a freezer-safe container. Use them within 1 month for best quality and thaw them slowly at room temperature away from moisture before serving.
Reheating
There’s really no reheating needed or recommended with this recipe since the appeal lies in the cool, crisp texture of the candy coating and the marshmallow softness. Avoid microwaving or warming as that will melt the coating and ruin the fun texture. If the coating softens slightly, just leave the pops in a cool, dry place to allow them to firm up again before serving.
FAQs
Can I use wooden skewers instead of paper straws or cake pop sticks?
Yes, wooden skewers work perfectly as a sturdy alternative for holding your marshmallow pops. Just be gentle inserting them so you don’t tear the marshmallow, and use caution when dipping since skewers can be sharp on the ends.
What type of candy coating is best for this recipe?
I prefer using candy melts because they melt easily in the microwave and harden with a nice glossy finish. They come in a variety of colors, which is great for matching your spooky theme. Alternatively, melted white chocolate with added food coloring also works well.
How long do it take for the candy coating to dry completely?
It usually takes about 10 to 15 minutes at room temperature for the candy coating to harden fully. If your kitchen is humid or warm, it might take a bit longer. Placing them upright while drying ensures an even coating without smudges.
Can I prepare these marshmallow pops ahead of time?
Absolutely! You can make and decorate the marshmallow pops a day ahead; just store them in an airtight container at room temperature to keep the candy coating crisp and fresh for your event.
Are there any allergy considerations I should know about?
Check the ingredient labels on your candy coatings and sprinkles to avoid allergens like nuts or gluten, especially if you’re serving to children or guests with allergies. There are many allergen-free options available for candy melts and decorations, which makes this an easy recipe to adapt safely.
Conclusion
I hope you feel as excited as I do to try making this Spooky Marshmallow Pops Recipe. It’s one of those simple yet delightful treats that bring so much joy and creativity into the kitchen and on the party table. Whether you’re crafting these with little ones or surprising your guests with a charming dessert, these pops never fail to brighten the mood. Give it a go, have fun decorating, and enjoy every sweet, spooky bite!
Print
Spooky Marshmallow Pops Recipe
- Prep Time: 15 minutes
- Cook Time: 10 minutes
- Total Time: 40 minutes
- Yield: 10 servings
- Category: Dessert
- Method: No-Cook
- Cuisine: American
Description
Spooky Marshmallow Pops are a fun and festive treat perfect for Halloween or any spooky-themed party. These marshmallow treats are dipped in colorful candy coatings, decorated with candy eyes and sprinkles, making them both visually appealing and deliciously sweet. Easy to make and great for kids, these pops combine simple ingredients with creative decorating techniques for a spooky delight.
Ingredients
Marshmallow Pops
- 10 large marshmallows
- 10 paper straws or cake pop sticks
Candy Coating & Decorations
- Candy coating (quantity as needed for dipping, about 1 cup)
- Candy sprinkles (½ cup or to taste)
- Small candy eyes (20 eyes, 2 per marshmallow)
Instructions
- Melt the Candy Coating: In individual microwave-safe bowls, melt the candy coating according to the package directions, usually heating in 20 to 30-second intervals and stirring until smooth.
- Prepare Marshmallows: Insert a paper straw or cake pop stick into one end of each large marshmallow securely, ensuring they can be held and dipped easily.
- Dip marshmallows: Dip each marshmallow into the melted candy coating, coating it completely or partially as desired. Allow excess coating to drip back into the bowl.
- Dry the Pops: Place the straws or sticks upright in a stand or container so the candy coating can harden and dry completely, usually about 15 minutes.
- Decorate: Use extra candy coating as edible glue to attach small candy eyes onto each marshmallow to create spooky faces. Use a piping bag or a small zip-top bag with a toothpick to add details like mouths or other facial accents with candy coating or sprinkles.
Notes
- Use different colored candy coatings to create a variety of spooky designs.
- Allow the coating to dry fully before handling to prevent smudging.
- These pops can be stored at room temperature in an airtight container for up to 2 days.
- For easier sticking, chill marshmallows briefly before dipping.


Leave a Reply