I have always believed that a great pie starts with the crust, which is why I am thrilled to share my go-to Easy Pie Dough (Crust) Recipe with you. This dough strikes the perfect balance between flaky and tender, with just the right touch of buttery flavor to make any pie filling shine. It’s genuinely straightforward to make, even if you’re new to pie baking, and the results always wow my family and guests. Once you try this recipe, I promise your pie game will be forever changed!
Why You'll Love This Easy Pie Dough (Crust) Recipe
What makes this pie dough truly special to me is its incredible buttery flavor combined with a flaky texture that feels light yet substantial in every bite. I love how the sugar and salt balance the richness, giving the crust a subtle sweetness and depth that complements both fruit and savory fillings. This crust turns out perfectly tender without being crumbly, which is a tricky balance to achieve but something I nailed down with this recipe.
Another reason I adore this Easy Pie Dough (Crust) Recipe is how fast and simple it is to prepare. Using a food processor makes mixing the ingredients a breeze, cutting down the time and effort dramatically compared to pie doughs that require tedious hand-cutting of the butter. Plus, chilling the dough for a couple of hours is an easy step that you can plan around your schedule, making it flexible and convenient.
I find this recipe perfect for all sorts of occasions, whether you’re baking a classic apple pie for a cozy family dinner or preparing an elegant double-crust berry pie for a holiday gathering. The dough’s versatility stands out — it’s sturdy enough to hold juicy fillings but tender enough to feel delicate and inviting. Trust me, once you make this crust, you’ll want to use it for every pie you bake!
Ingredients You'll Need

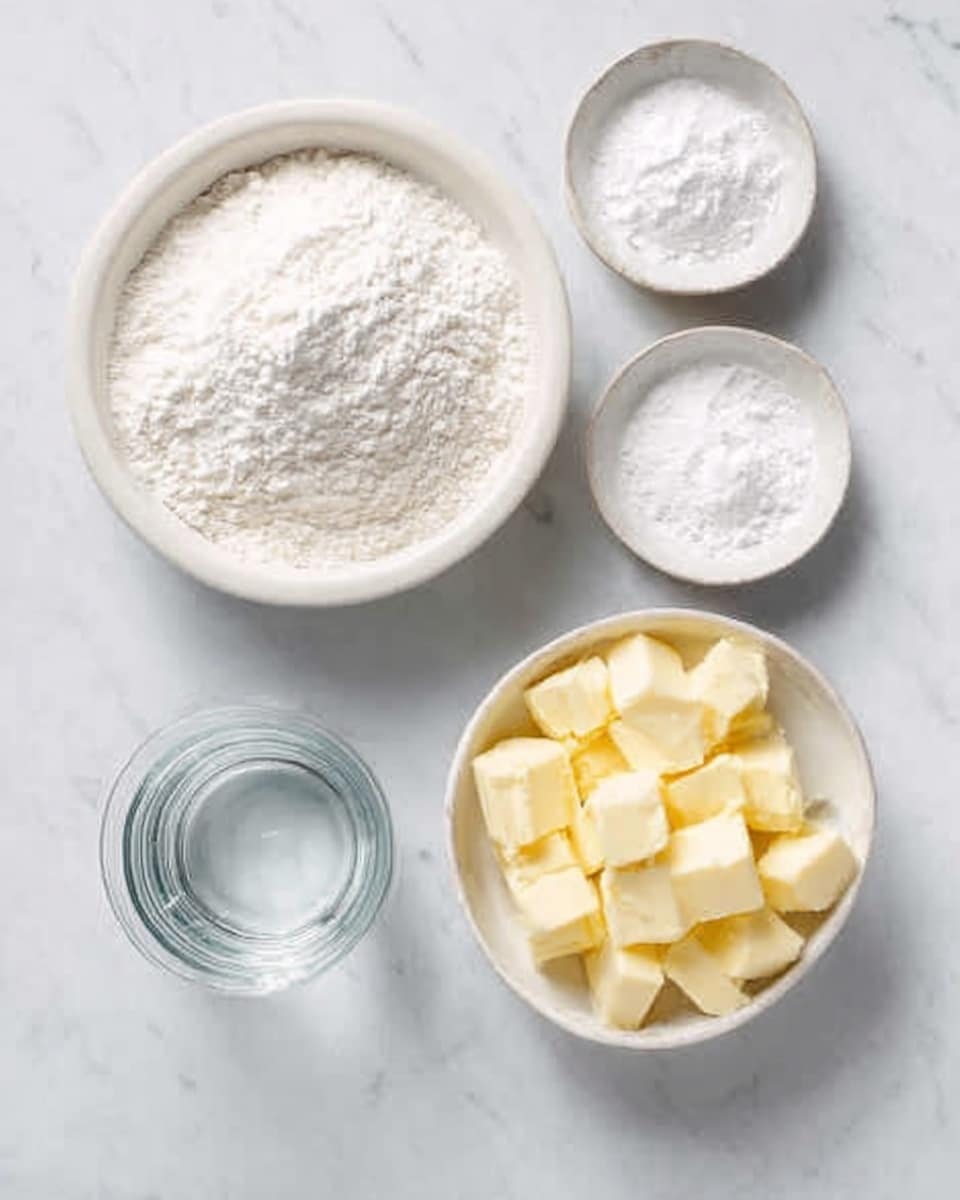
This recipe relies on just a handful of simple ingredients, each playing an important part to deliver the perfect pie dough texture and flavor. The flour provides structure, while the butter adds that all-important richness and flakiness. Sugar and salt bring depth to the flavor, and the cold water helps bring everything together smoothly without overworking the dough.
TIP : You'll find the full list of ingredients and measurements in the recipe card below
- All-purpose flour: This is the base that gives the dough structure and creates that tender crumb we all love in a pie crust.
- Sugar: Just a touch to enhance flavor and encourage golden browning during baking.
- Kosher salt: Balances the sweetness and brings out the nuanced buttery notes.
- Unsalted butter: The star of the show that creates flaky layers and a rich mouthfeel, sliced thin for quick mixing.
- Cold water: Helps bring the dough together without melting the butter, keeping those flaky pockets intact.
Directions
Step 1: Combine two-thirds of the flour with the sugar and salt in the bowl of your food processor. Give it two quick pulses to evenly incorporate everything — this little step really helps distribute the seasoning throughout the dough.
Step 2: Spread your cold, sliced butter evenly over the flour mixture. Pulse about 25 short times until you no longer see dry flour and the dough starts to clump together. The key here is short pulses to avoid warming the butter too much, which keeps the flaky texture.
Step 3: Use a rubber spatula to scrape and spread the dough bits evenly around the sides and bottom of the processor bowl. Then sprinkle the remaining flour over the dough and pulse about 5 more times; this helps just break the dough up a bit, avoiding overmixing.
Step 4: Transfer the dough to a large bowl and sprinkle with the cold water. Using your spatula, fold and press the mixture until it just comes together into a ball. Be gentle here — you want it cohesive but not overworked.
Step 5: Divide the dough ball into two halves and shape each into a 4-inch disk. Wrap each tightly with plastic wrap and refrigerate them for at least two hours. This chilling step is crucial for the dough to relax and the butter to firm back up.
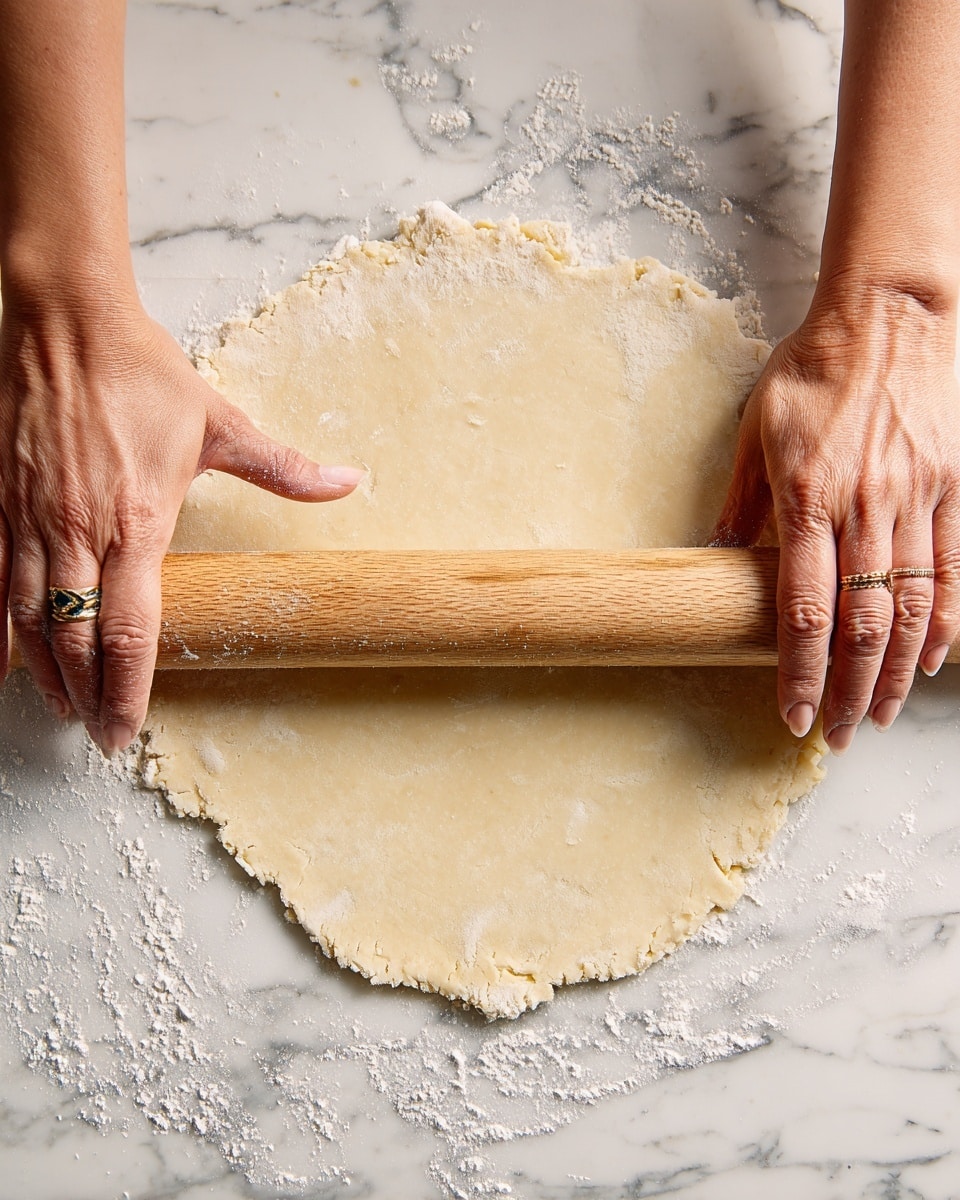
Step 6: When you’re ready to bake, take one dough disk out, sprinkle your work surface and dough with flour, and use a tapered rolling pin to roll it out evenly into a circle. Keep lifting and rotating the dough as you roll to avoid sticking and ensure even thickness with a slight overhang for your pie plate.
Step 7: Gently roll the dough around your rolling pin to pick it up, use a bench scraper if needed to help lift it, and unroll it over the pie plate. Press the dough gently into the edges and corners for a snug fit.
Step 8: For a single crust pie, trim the overhang to about half an inch and tuck it under itself to form a thick edge. For a double crust pie, fill the bottom crust, add the second dough circle on top, trim, tuck edges, flute them, and brush the top with egg white before cutting vents and baking.
Servings and Timing
This recipe makes enough dough for two 9-inch pie crusts, which means you can bake one now and save one for later or make a double-crust pie. It yields approximately 16 servings, depending on how you slice your pie. Prep time for the dough takes about 20 minutes, with around 10 minutes of active mixing and rolling time. However, the dough must chill for at least two hours before shaping and baking. Altogether, you’re looking at roughly 2 hours and 20 minutes from start to finish.
How to Serve This Easy Pie Dough (Crust) Recipe

I absolutely love pairing this pie crust with warm fruit fillings like blueberry, apple, or cherry, where the buttery crust provides a perfect contrast to the juicy, tart fruit. For sides, a scoop of vanilla ice cream or a dollop of freshly whipped cream is an absolute must in my book. It adds that creamy coolness that complements the flaky crust beautifully.
When serving, I like to garnish pies with a sprinkle of powdered sugar around the edges or tiny fresh mint leaves for a pop of color and freshness. Presentation wise, a simple white plate paired with a rustic wooden board works wonderfully, especially if you’re inviting friends over for a cozy get-together or holiday celebration.
If you’re considering beverages, a chilled Riesling or a lightly sweet Moscato pairs splendidly with fruit pies. For non-alcoholic options, a sparkling lemonade or cold brewed tea with a sprig of mint works wonders. I usually serve the pie slightly warm or at room temperature, allowing the crust to retain its flaky texture without being soggy or greasy.
Variations
Over time, I’ve experimented with this basic Easy Pie Dough (Crust) Recipe in all sorts of ways to fit different needs and flavors. For a richer, more tender crust, I sometimes swap up to 6 tablespoons of the butter for vegetable shortening. This helps the dough stay flaky but adds a lighter texture that works really well with delicate fillings.
If you’re following a gluten-free diet, you can substitute the all-purpose flour with a gluten-free baking blend. I do recommend adding a teaspoon of xanthan gum if your blend doesn’t include it to help hold the dough together. For vegan adaptations, I swap butter for a firm vegan butter or coconut oil chilled until cold, which still gives you nice flakiness with a slightly different flavor profile.
Flavor-wise, adding finely chopped fresh herbs like rosemary or thyme into the dough works beautifully for savory pies, while a pinch of cinnamon or nutmeg can add warmth perfect for autumn fruit pies. Instead of rolling and baking the dough, you can also press it into tart pans or even make mini hand pies using this versatile crust.
Storage and Reheating
Storing Leftovers
Leftover pie crust dough or baked pie can be stored in an airtight container in the refrigerator. Unbaked dough will keep well for up to two days if wrapped tightly in plastic wrap. Once baked, the pie can last about 3 to 4 days refrigerated. I always recommend using a pie saver or covering it loosely with foil or plastic wrap to prevent the crust from drying out.
Freezing
This dough freezes incredible well, which is perfect for when you want to bake pies on demand. Wrap each dough disk tightly in plastic wrap and then place them in a freezer-safe bag or container. The dough can be frozen for up to 3 months. When ready to use, thaw the dough overnight in the fridge before rolling and baking as usual.
Reheating
To reheat baked pie without compromising the crust’s flakiness, I recommend warming it gently in a 350°F (175°C) oven for about 10 to 15 minutes. Avoid microwaving, as it tends to make the crust soggy and limp. Reheating in the oven restores crispness and revives the buttery aroma that makes this crust so fantastic.
FAQs
Can I make the dough without a food processor?
Absolutely! You can make this dough by hand using a pastry cutter or two knives to cut the butter into the flour mixture until it resembles coarse crumbs. Then add water and gently combine. It takes a bit more elbow grease but still yields excellent results.
Why do I need to chill the dough before rolling it out?
Chilling the dough allows the butter to firm up and the gluten in the flour to relax. This results in a flakier finished crust that’s easier to roll out and less prone to shrinking or tearing during baking.
Can I prepare this pie dough recipe in advance?
Yes! The dough can be made up to three days in advance and kept tightly wrapped in the refrigerator. It also freezes well for longer storage, making it super convenient for planning ahead.
How do I prevent the bottom crust from getting soggy?
For juicy fillings, you can blind bake the crust first or brush the bottom crust lightly with a beaten egg white before adding the filling. This creates a barrier that helps keep moisture from soaking into the dough.
What if my dough cracks when rolling it out?
If your dough cracks, it’s usually a sign it’s too cold or dry. Let it sit at room temperature for a few minutes to soften slightly, then gently press the cracks back together with your fingers. You can also sprinkle a tiny bit of cold water on the dough to help it hold better.
Conclusion
Once you get comfortable with this Easy Pie Dough (Crust) Recipe, I promise it will become your go-to for every pie occasion. It’s a joyful blend of buttery flavor, flaky texture, and simplicity that never fails to impress. Give it a try—I’m confident you’ll fall in love with pie baking all over again!
Print
Easy Pie Dough (Crust) Recipe
- Prep Time: 20 mins
- Cook Time: 10 mins (if blind baking, add baking time according to your pie recipe)
- Total Time: 2 hrs 20 mins (including chilling time)
- Yield: Makes 2 pie crusts, serves approximately 16 servings
- Category: Baking
- Method: Baking
- Cuisine: American
Description
This easy pie dough recipe yields a tender, flaky crust perfect for both single and double-crusted pies. Utilizing a food processor speeds up the mixing process, while chilling the dough ensures a firm, easy-to-roll texture. The dough is simple to prepare with common pantry ingredients and can be shaped, trimmed, and fluted for a professional finish. Ideal for sweet or savory pies, this versatile crust freezes well for future use.
Ingredients
Dry Ingredients
- 2 ¾ cups (12.5 ounces; 350 g) all-purpose flour, divided
- 2 tablespoons (25 g) sugar
- 1 ½ teaspoons (5 g) Diamond Crystal kosher salt (for table salt, use the same weight or half as much by volume)
Wet Ingredients
- 2 ½ sticks (10 ounces; 280 g) unsalted butter, cut into ¼-inch-thick slices
- 6 tablespoons (3 ounces; 85 ml) cold water
Instructions
- Combine dry ingredients: Place two thirds of the flour, sugar, and salt in the bowl of a food processor. Pulse twice to incorporate the ingredients evenly.
- Add butter and pulse: Evenly spread the butter slices over the flour mixture. Pulse about 25 short times until no dry flour remains and the dough starts to form clumps.
- Incorporate remaining flour: Use a rubber spatula to spread the dough evenly on the processor bowl sides. Sprinkle the remaining flour and pulse about 5 short times until the dough breaks up slightly.
- Transfer and add water: Transfer the mixture to a large bowl. Sprinkle with cold water, then fold and press the dough gently with a rubber spatula until it forms a cohesive ball.
- Divide and chill dough: Divide the dough ball in half and form each half into a 4-inch disk. Wrap tightly in plastic wrap and refrigerate for at least 2 hours before rolling out.
- Roll out dough: Once chilled, place one dough disk on a well-floured surface, sprinkle with more flour, and roll out to a circle that overhangs your pie plate by 1-2 inches. Lift and rotate the dough frequently to maintain even thickness.
- Fit dough to pie plate: Carefully roll the dough around your rolling pin, then unroll it over the pie plate. Gently press the dough into the corners and sides of the plate.
- Trim and shape: For a single crust, trim the dough to overhang the edge by ½ inch. For a double crust, trim similarly after adding filling and layering the top dough. Fold overhanging edges under themselves and flute the edges by pinching between your fingers for a decorative finish.
- Prepare for baking or filling: The single crust is ready to be blind-baked or filled as desired. For double-crusted pies, brush the top with egg white, sprinkle sugar, and cut vent holes before baking as directed in your pie recipe.
Notes
- For a more tender crust, replace up to 6 tablespoons of butter with vegetable shortening.
- Pie dough can be frozen for up to 3 months. Thaw in the refrigerator before rolling and baking.
- Use a tapered French rolling pin for best results in shaping the dough evenly.
- Chilling the dough is essential to relax gluten and firm the butter, ensuring flakiness.


Leave a Reply