I absolutely love whipping up sweet treats that don’t demand a lot of time or complicated steps in the kitchen, and my No Bake Chocolate Peanut Butter Cookies Recipe is one of my absolute favorites to share. It’s rich, comforting, and incredibly satisfying with the perfect balance of chocolate and peanut butter flavors, all wrapped up in chewy oats. Whenever I need a quick dessert that can wow family or guests without heating up the oven, this recipe is my go-to. I know you’re going to fall in love with how easy and delightful these cookies are!
Why You'll Love This No Bake Chocolate Peanut Butter Cookies Recipe
One of the things I adore most about this recipe is its perfect flavor combination. The cocoa powder gives the cookies a deep, slightly bittersweet chocolate taste, while the peanut butter adds a creamy, nutty richness. The oats bring this wonderful chewy texture that rounds everything out, making each bite just the right balance of gooey and tender. It's like a cozy hug in cookie form, and I find myself craving it whenever I want something sweet but not too heavy.
Beyond the taste, I love how simple and quick the preparation is. There’s no need to preheat an oven or wait anxiously for the timer. Everything comes together in one pot, and with just a few stirring motions, the mixture is ready to shape into cookies. This is a great recipe if you’re short on time or want to avoid heating up your kitchen, especially during the warmer months.
These cookies are an absolute hit on so many occasions. I’ve brought them to birthday parties, casual get-togethers, and holiday celebrations. They’re also perfect when you want a comforting treat after a long day or need a quick bake sale pick-me-up. What really makes this No Bake Chocolate Peanut Butter Cookies Recipe stand out to me is how reliably delicious it is and how happy it makes everyone who tries it.
Ingredients You'll Need
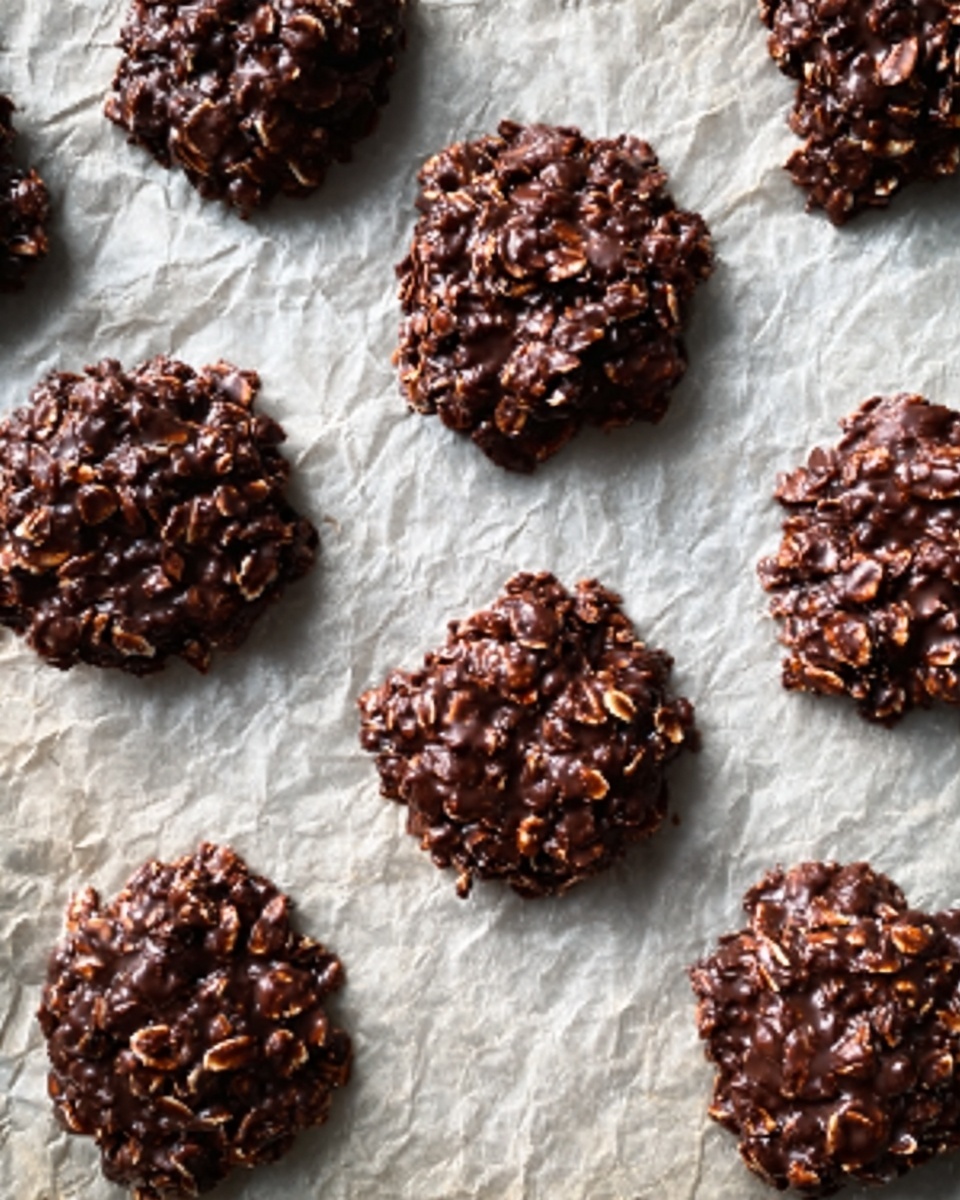
The beauty of this recipe lies in its simplicity. Each ingredient is essential and plays a specific role that can't easily be swapped without impacting the result. From the creamy peanut butter to the quick oats, every element works together to create that signature texture and flavor.
TIP : You'll find the full list of ingredients and measurements in the recipe card below
- Quick cook oats: The base of the cookies that adds chewiness and body without a harsh texture.
- Salt: Just a pinch to enhance the sweetness and balance flavors.
- Unsalted butter: Brings richness and helps bind everything.
- Sugar: Provides sweetness and caramelizes slightly to deepen the flavor.
- Milk: Adds moisture and helps the ingredients blend smoothly.
- Cocoa powder: Gives the distinct chocolate flavor that pairs perfectly with peanut butter.
- Peanut butter: Adds creamy nuttiness and binds the oats beautifully.
- Vanilla extract: A little magic that lifts all the flavors and adds warmth.
Directions
Step 1: In a medium saucepan, combine the butter, sugar, milk, cocoa powder, and salt. Heat this mixture over medium heat, stirring occasionally until the butter melts and the sugar dissolves completely.
Step 2: Bring the mixture just to a rolling boil, keeping it there for about 1 minute. This is crucial to help the sugar fully activate for the perfect cookie texture.
Step 3: Remove the saucepan from heat immediately. Stir in the peanut butter and vanilla extract until everything is fully smooth and combined. This is where the peanut butter’s creamy goodness becomes the heart of the mixture.
Step 4: Add in the quick cook oats and mix thoroughly, ensuring every oat is coated and the mixture looks thick and glossy.
Step 5: Drop spoonfuls of the mixture onto wax paper or a greased baking sheet. I usually aim for dessert-spoon-sized cookies, but you can go smaller or bigger according to your preference.
Step 6: Let the cookies cool and set at room temperature for at least 30 minutes until firm. If you’re in a rush, you can refrigerate them for 15–20 minutes to speed up the process.
Servings and Timing
This recipe yields about 24 standard-sized cookies, perfect for sharing with family or friends. The prep only takes around 10 minutes, including gathering ingredients and stirring everything together. The cook time is brief—just a couple of minutes on the stove. However, you’ll want to allow about 30 minutes for the cookies to cool and set properly. So from start to finish, you’re looking at approximately 40 to 45 minutes to enjoy these delectable no bake treats.
How to Serve This No Bake Chocolate Peanut Butter Cookies Recipe
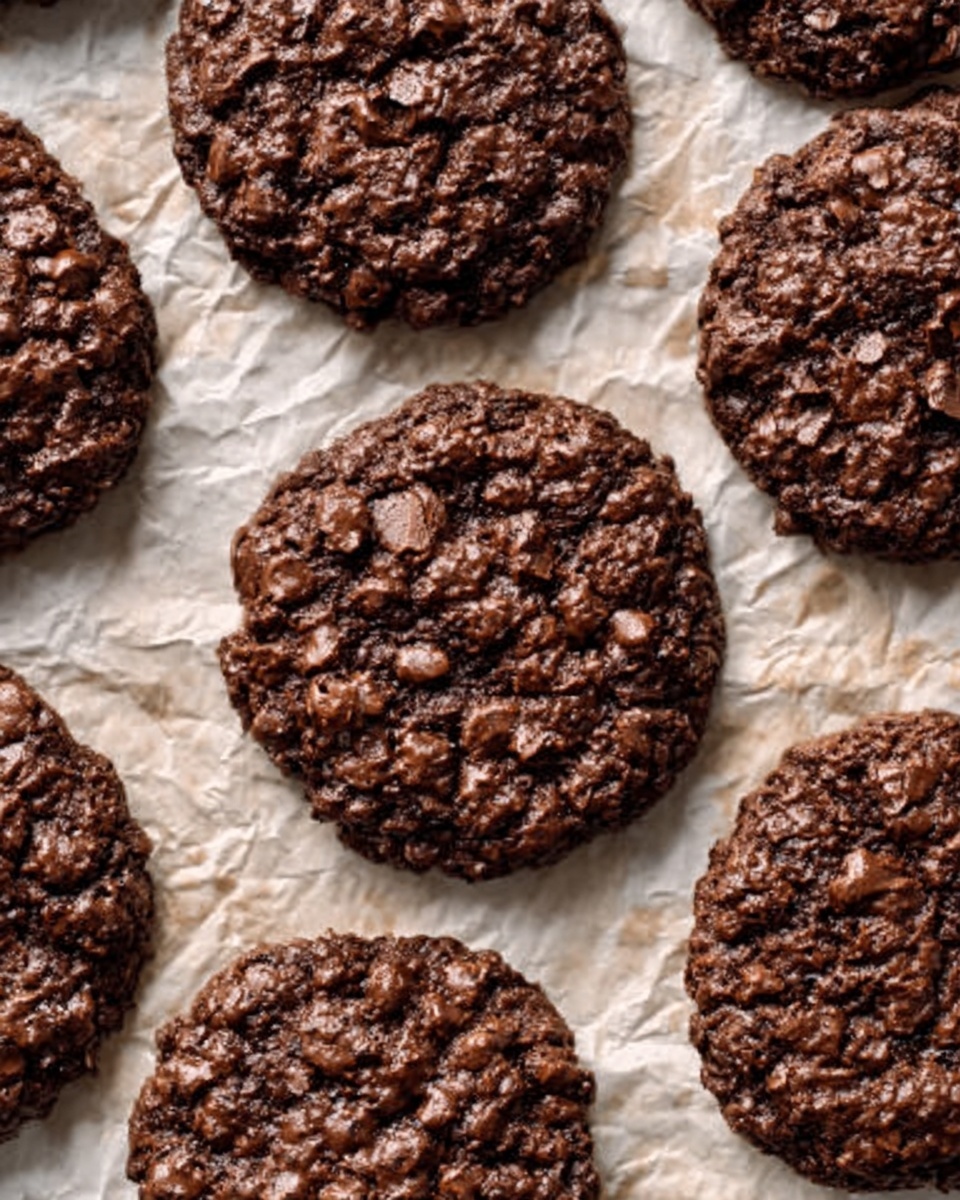
I love serving these cookies as a casual dessert or snack that feels extra special. For a fun presentation, I sometimes place them on a pretty platter lined with parchment paper and garnish the plate with a sprinkle of powdered sugar or a drizzle of melted chocolate for a touch of elegance. The contrast of the rustic cookies against a sleek plate always impresses guests.
These cookies pair wonderfully with a cold glass of milk or a steaming cup of coffee or tea. If I'm serving them at a party, I like offering them alongside fresh fruit or a light yogurt dip. For an adult twist, a cup of rich espresso or a chocolate stout beer elevates the indulgence even further, but honestly, they’re delicious enough to enjoy solo, too.
One thing I’ve noticed is that these cookies taste best at room temperature because the flavors mellow beautifully when not too cold, and the texture is perfectly chewy. You can make them ahead and let them sit out before serving, which makes hosting a breeze. They’re great for holiday cookie trays, casual family dinners, or even a last-minute treat for unexpected guests.
Variations
One of my favorite things about this No Bake Chocolate Peanut Butter Cookies Recipe is how versatile it is. For example, if you’re looking to make it vegan, simply swap the butter with coconut oil and use a plant-based milk like almond or oat milk. I’ve found that natural peanut butter works best, but you can experiment with almond butter or sunflower seed butter for a different nutty twist.
If you prefer a little extra crunch in your cookies, adding a handful of chopped nuts or even mini chocolate chips into the mix before setting works wonders. For a gluten-free option, just be sure to use certified gluten-free oats, which are easy to find at most grocery stores these days.
For a flavor spin, I sometimes add a pinch of cinnamon or a splash of espresso powder to deepen the chocolate notes. And although these are no bake cookies, I’ve played around with briefly chilling the dough to see if it changes the texture; it makes the cookies denser and easier to handle if you prefer a more compact bite.
Storage and Reheating
Storing Leftovers
Leftover cookies keep beautifully when stored in an airtight container at room temperature. I recommend lining the container with parchment paper between layers to prevent sticking. Stored this way, the cookies stay fresh and chewy for up to 5 days, making them an easy grab-and-go snack throughout the week.
Freezing
If you want to keep these cookies for longer, freezing is a great option. Arrange the cookies on a baking sheet so they don’t touch and freeze until solid, about 1 to 2 hours. Then transfer them to a freezer-safe bag or container with parchment paper between layers. They can be frozen for up to 3 months. When you want a cookie fix, you can thaw them at room temperature for 30 minutes or enjoy them straight from the freezer for a chilly treat.
Reheating
Since these cookies don’t need to be baked, reheating is more about bringing them back to a pleasantly soft texture if they’ve been chilled. I like to microwave a cookie for about 10 seconds on low power to soften it slightly, which revives that gooey, fresh-baked feel. Avoid heating them too long, or they might dry out or become too soft and lose their lovely chewy bite.
FAQs
Can I use old-fashioned oats instead of quick cook oats?
Yes, but the texture will be different. Old-fashioned oats will make the cookies chewier and a bit denser since they take longer to absorb moisture. The quick oats help the cookies set properly and offer a softer texture, which I prefer for this recipe.
Is it possible to reduce the sugar in this recipe?
You can reduce the sugar slightly, but keep in mind that sugar is essential for the texture and sweetness balance. Cutting too much may affect how well the cookies set and how sweet they taste. A small reduction, like using 1 ½ cups instead of 1 ⅔ cups, usually works fine.
Can I substitute the peanut butter with another nut butter?
Absolutely! Almond butter, cashew butter, or sunflower seed butter can provide interesting flavor variations. Just be aware that the texture and taste will change slightly depending on the consistency and flavor of the nut butter you choose.
Do these cookies need refrigeration?
No refrigeration isn’t necessary, although you can keep them in the fridge if you like a firmer texture. At room temperature, they stay perfectly chewy and soft. Refrigerating them can make them firmer but might lose some of that melt-in-your-mouth appeal.
How long do these cookies take to set properly?
I recommend letting them cool for at least 30 minutes at room temperature. If you’re in a hurry, chilling them in the fridge for 15 to 20 minutes works great to speed up the process without compromising texture.
Conclusion
If you’re looking for a quick, satisfying dessert that hits all the right notes of chocolate and peanut butter without the fuss of baking, this No Bake Chocolate Peanut Butter Cookies Recipe is a must-try. I promise it will become one of your favorite go-to recipes when you want something delicious and homey without spending hours in the kitchen. Once you make it, I’d be surprised if you don’t find yourself coming back for more!
Print
No Bake Chocolate Peanut Butter Cookies Recipe
- Prep Time: 10 minutes
- Cook Time: 5 minutes
- Total Time: 40 minutes
- Yield: Approximately 24 cookies
- Category: Dessert
- Method: Stovetop
- Cuisine: American
- Diet: Vegetarian
Description
These No Bake Chocolate Peanut Butter Cookies are a quick and easy treat combining the rich flavors of cocoa and creamy peanut butter with wholesome oats. Perfect for when you want a delicious cookie without using the oven, these cookies set quickly and satisfy chocolate and peanut butter cravings with minimal effort.
Ingredients
Dry Ingredients
- 3 cups quick cook oats
- ¼ teaspoon salt
- ¼ cup cocoa powder
Wet Ingredients
- ½ cup unsalted butter
- 1 ⅔ cups sugar
- ½ cup milk
- 1 cup peanut butter
- 2 teaspoons vanilla extract
Instructions
- Prepare Ingredients: Measure out all your dry ingredients including quick cook oats, salt, and cocoa powder, and set aside.
- Melt Butter and Combine Sugar, Milk, and Cocoa: In a medium saucepan over medium heat, melt the unsalted butter. Once melted, stir in sugar, milk, and cocoa powder. Bring the mixture to a rolling boil and allow it to boil for exactly 1 minute, stirring constantly to prevent burning. This step is crucial to properly set the cookies.
- Add Peanut Butter and Vanilla: Remove the saucepan from heat and immediately stir in the peanut butter and vanilla extract until smooth and completely combined.
- Mix in Oats and Salt: Quickly fold in the quick cook oats and salt until the mixture is evenly coated and well combined. This ensures every bite has the perfect balance of flavors and texture.
- Form Cookies: Drop spoonfuls of the mixture onto wax paper or a baking sheet lined with parchment paper. You can shape them slightly with the back of the spoon to form rounded cookie shapes.
- Let Set: Allow the cookies to cool and set at room temperature, about 30 minutes. Once firm, they are ready to enjoy. For quicker setting, you can place them in the refrigerator for 15-20 minutes.
Notes
- Do not overboil the sugar mixture; boiling for one full minute is key for setting without making the cookies hard.
- Use quick cook oats for better binding and proper texture. Rolled oats can be used but may affect consistency.
- If you prefer a crunchier texture, substitute some oats with chopped nuts.
- Store cookies in an airtight container at room temperature for up to 5 days or in the fridge for up to 2 weeks.
- For a vegan variation, substitute butter with a plant-based alternative, use a non-dairy milk, and ensure peanut butter contains no added dairy ingredients.






Leave a Reply