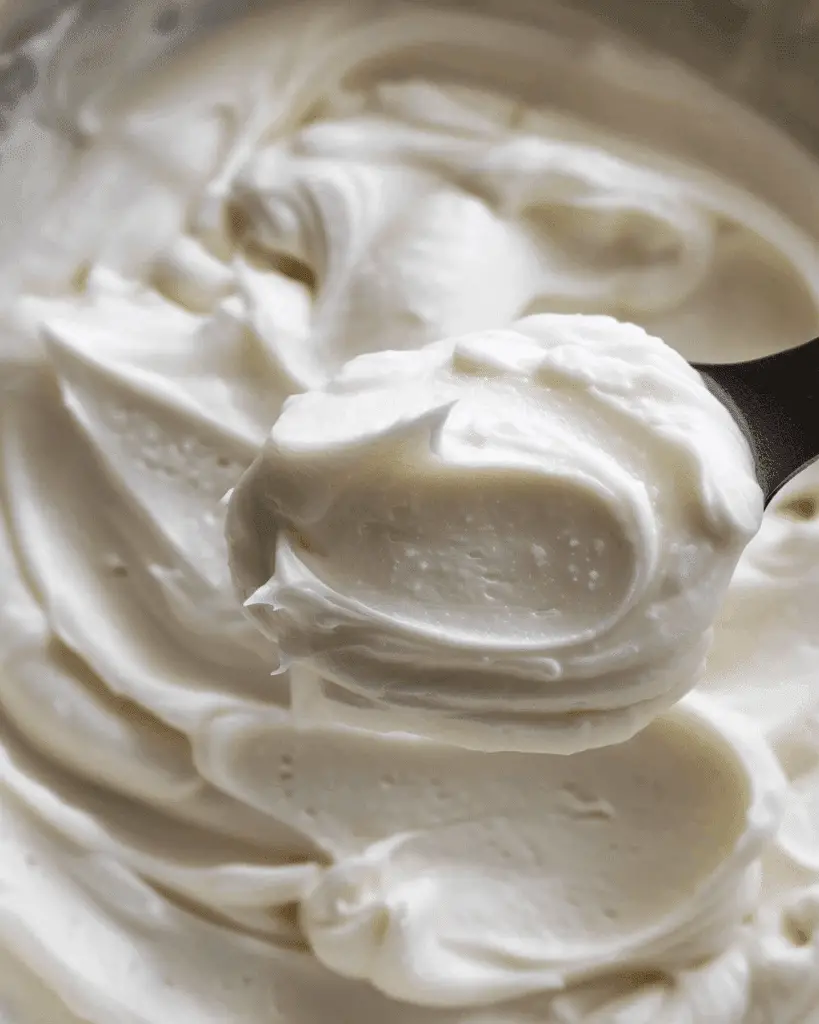
This sugar cookie icing recipe is smooth, glossy, and perfectly sweet—just what I need to decorate cookies for holidays, parties, or any festive occasion. It dries hard, making it ideal for stacking and gifting, while still having a delicious flavor that complements any sugar cookie base.
Why You’ll Love This Recipe
I love how easy and quick it is to make with just a few pantry staples. It’s the kind of icing that spreads beautifully and sets up with a nice, clean finish, so my cookies look bakery-perfect without too much effort. Whether I’m outlining, flooding, or adding intricate designs, this icing gives me full control. Plus, I can customize the color and consistency depending on how I want to decorate.
Ingredients
(Here's a tip: Check out the full list of ingredients and measurements in the recipe card below.)
- Confectioners' sugar
- Milk
- Light corn syrup
- Almond extract or vanilla extract
- Food coloring (optional)
Directions
- I start by sifting the confectioners’ sugar into a medium bowl to avoid any lumps.
- I stir in the milk until the mixture is smooth and lump-free.
- Then I add the corn syrup and extract, mixing until everything is glossy and well combined. The syrup is key to giving the icing that beautiful shine and smooth texture.
- At this point, I divide the icing into separate bowls if I want to use different colors and add food coloring as needed.
- I adjust the consistency by adding a drop of milk if it’s too thick, or a bit more sugar if too thin, depending on whether I’m outlining or flooding cookies.
- I use a piping bag or a squeeze bottle to decorate the cookies and let them dry at room temperature until fully set.
Servings and timing
This recipe yields enough icing for about 24 medium-sized sugar cookies. It takes about 5 minutes to prepare and 6–12 hours to fully dry, depending on the humidity and icing thickness.
Variations
- Flavor twists: I like using different extracts like lemon, peppermint, or orange for seasonal or themed flavors.
- Color customization: Gel food coloring works best since it doesn’t water down the icing. I can go bold or pastel depending on the occasion.
- Vegan option: I swap out the milk for a non-dairy alternative like almond or oat milk.
Storage/Reheating
I store leftover icing in an airtight container in the refrigerator for up to one week. Before using it again, I stir it well and add a drop or two of milk if it thickened too much. I don’t recommend freezing it, as the texture may change.
FAQs
How long does sugar cookie icing take to dry?
It usually takes 6 to 12 hours to fully harden, though thinner layers may dry faster.
Can I make this icing ahead of time?
Yes, I often make it a day in advance and store it in the fridge. Just remember to stir it well before using.
Does this icing taste good or just look good?
It tastes great—sweet, smooth, and slightly flavored with vanilla or almond extract. It’s not just for looks!
Can I use this icing for piping and flooding?
Absolutely. I just adjust the consistency—thicker for piping, thinner for flooding—and it works like a charm.
What’s the best way to apply the icing?
I like using piping bags or squeeze bottles for better control, especially for intricate designs.
Conclusion
This sugar cookie icing recipe is my go-to for decorating cookies that are as beautiful as they are tasty. It’s easy to make, fun to customize, and dries to a perfect finish every time. Whether I’m prepping for the holidays or a birthday party, this icing never lets me down.
Print
Sugar Cookie Icing Recipe
- Prep Time: 10 minutes
- Cook Time: 0 minutes
- Total Time: 10 minutes (+ 20–24 hours drying)
- Yield: Icing for approx. 24 medium-sized cookies
- Category: Dessert, Cookies
- Method: No-Bake
- Cuisine: American
- Diet: Vegetarian
Description
This sugar cookie icing recipe is the perfect finishing touch for your holiday cookies or everyday treats. Made with simple ingredients, it dries to a glossy, firm finish that's perfect for decorating, stacking, and gifting. Quick to prepare and easy to customize with flavors and colors, this icing is a must-have for beautifully decorated sugar cookies.
Ingredients
- Powdered sugar
- Milk
- Light corn syrup
- Vanilla or almond extract
- Food coloring (optional)
Instructions
- In a mixing bowl, combine powdered sugar, light corn syrup, and vanilla or almond extract.
- Gradually add milk, 1 tablespoon at a time, stirring until the icing reaches the desired consistency.
- If coloring, divide icing into bowls and mix in food coloring.
- Use immediately to decorate cooled sugar cookies.
- Allow cookies to dry completely (20–24 hours) before stacking or storing.
Notes
- For outlining cookies, use a thicker consistency; for flooding, add a little more milk.
- Gel food coloring works best for vibrant color without thinning the icing.
- Store leftover icing in the refrigerator for up to a week. Stir and adjust with milk before reusing.
- Substitute almond extract for a different flavor twist.
- Cookies can be frozen once the icing is fully dry.





Leave a Reply