
I’m so excited to share my Easy Old-Fashioned Peanut Butter Cookies Recipe with you! These cookies have always been a favorite of mine because they combine that rich, nutty peanut butter flavor with a perfectly soft and tender bite. It’s the kind of recipe that brings a comforting sense of nostalgia and is incredibly simple to whip up whenever a sweet craving hits. Trust me, once you try these, you’ll have a new go-to cookie baking tradition.
Why You'll Love This Easy Old-Fashioned Peanut Butter Cookies Recipe
What really makes this Easy Old-Fashioned Peanut Butter Cookies Recipe stand out for me is the balance of flavors and textures. The creamy peanut butter paired with both brown and granulated sugars creates a deep, caramel-like sweetness with just the right amount of chewiness. The little cross-hatch fork marks on top aren’t just charming—they also help the cookies bake evenly and develop that classic look I love.
I also have to share how easy these cookies are to prepare. The handful of pantry staples and straightforward steps make baking them a no-fuss, satisfying experience. Whether I’m making cookies for an after-school snack or a last-minute gathering, this recipe never lets me down.
For me, these cookies are perfect for any occasion because they bring everyone together. I personally enjoy serving them warm with a cold glass of milk when guests come over. And I love that they’re sturdy enough to pack for picnics or lunchboxes, yet special enough to bring out for holidays and celebrations. This recipe is a timeless crowd-pleaser that feels both homemade and special.
Ingredients You'll Need

These ingredients are simple but essential, each playing a key role in creating that tender texture and rich peanut butter flavor. From the creamy peanut butter to the mix of sugars, every component adds a distinct layer to the cookie’s character.
TIP : You'll find the full list of ingredients and measurements in the recipe card below
- Creamy peanut butter: This gives the cookies their signature moist and rich peanut flavor.
- Salted butter (room temperature): Adds a tender crumb and just enough saltiness to balance sweetness.
- Light brown sugar (packed): Contributes moisture and a subtle caramel note.
- Granulated sugar: Ensures a slight crispness on the edges while keeping the center soft.
- Large eggs (room temperature): Help bind the dough together and add richness.
- Vanilla extract: Enhances the overall flavors and adds warmth.
- All-purpose flour: Provides structure to the dough without making it heavy.
- Baking soda: Leavens the cookies slightly for a tender yet chewy texture.
Directions
Step 1: Preheat your oven to 350 degrees Fahrenheit. I always line my baking sheets with parchment paper or silicone liners so the cookies don’t stick and cleanup is a breeze.
Step 2: In a large bowl, beat the creamy peanut butter and room temperature salted butter together until smooth and well combined. I use a stand mixer but a hand mixer works perfectly fine too.
Step 3: Add the light brown sugar and granulated sugar to the peanut butter mixture. Beat everything together until it feels light and fluffy—this helps create that tender cookie texture.
Step 4: Mix in the eggs one at a time, making sure each egg is fully incorporated before adding the next. Then stir in the vanilla extract for that lovely aroma and flavor depth.
Step 5: In a separate medium bowl, whisk together the all-purpose flour and baking soda. Gradually add the dry ingredients to the wet ingredients, stirring just until combined. Be careful not to over-mix; you want to keep the dough tender.
Step 6: Scoop out about 2 tablespoons of dough for each cookie, placing them roughly 3 inches apart on your prepared baking sheets. Use a fork to gently press down the dough balls and create a classic cross-hatch pattern on top.
Step 7: Bake for 12 to 13 minutes, or until the cookies are golden brown around the edges and the tops look matte instead of glossy. Let them cool on the baking sheet for about 5 minutes before moving them to a wire rack to cool completely.
Servings and Timing
This recipe yields around 24 delicious cookies, perfect for sharing or savoring over several days. The prep time is about 10 minutes since the dough comes together quickly. Bake time is approximately 12 to 13 minutes, leaving you with a total time commitment of about 22 to 25 minutes. Don’t forget to factor in that cooling time to let the cookies firm up to the perfect chewy softness before you dig in.
How to Serve This Easy Old-Fashioned Peanut Butter Cookies Recipe
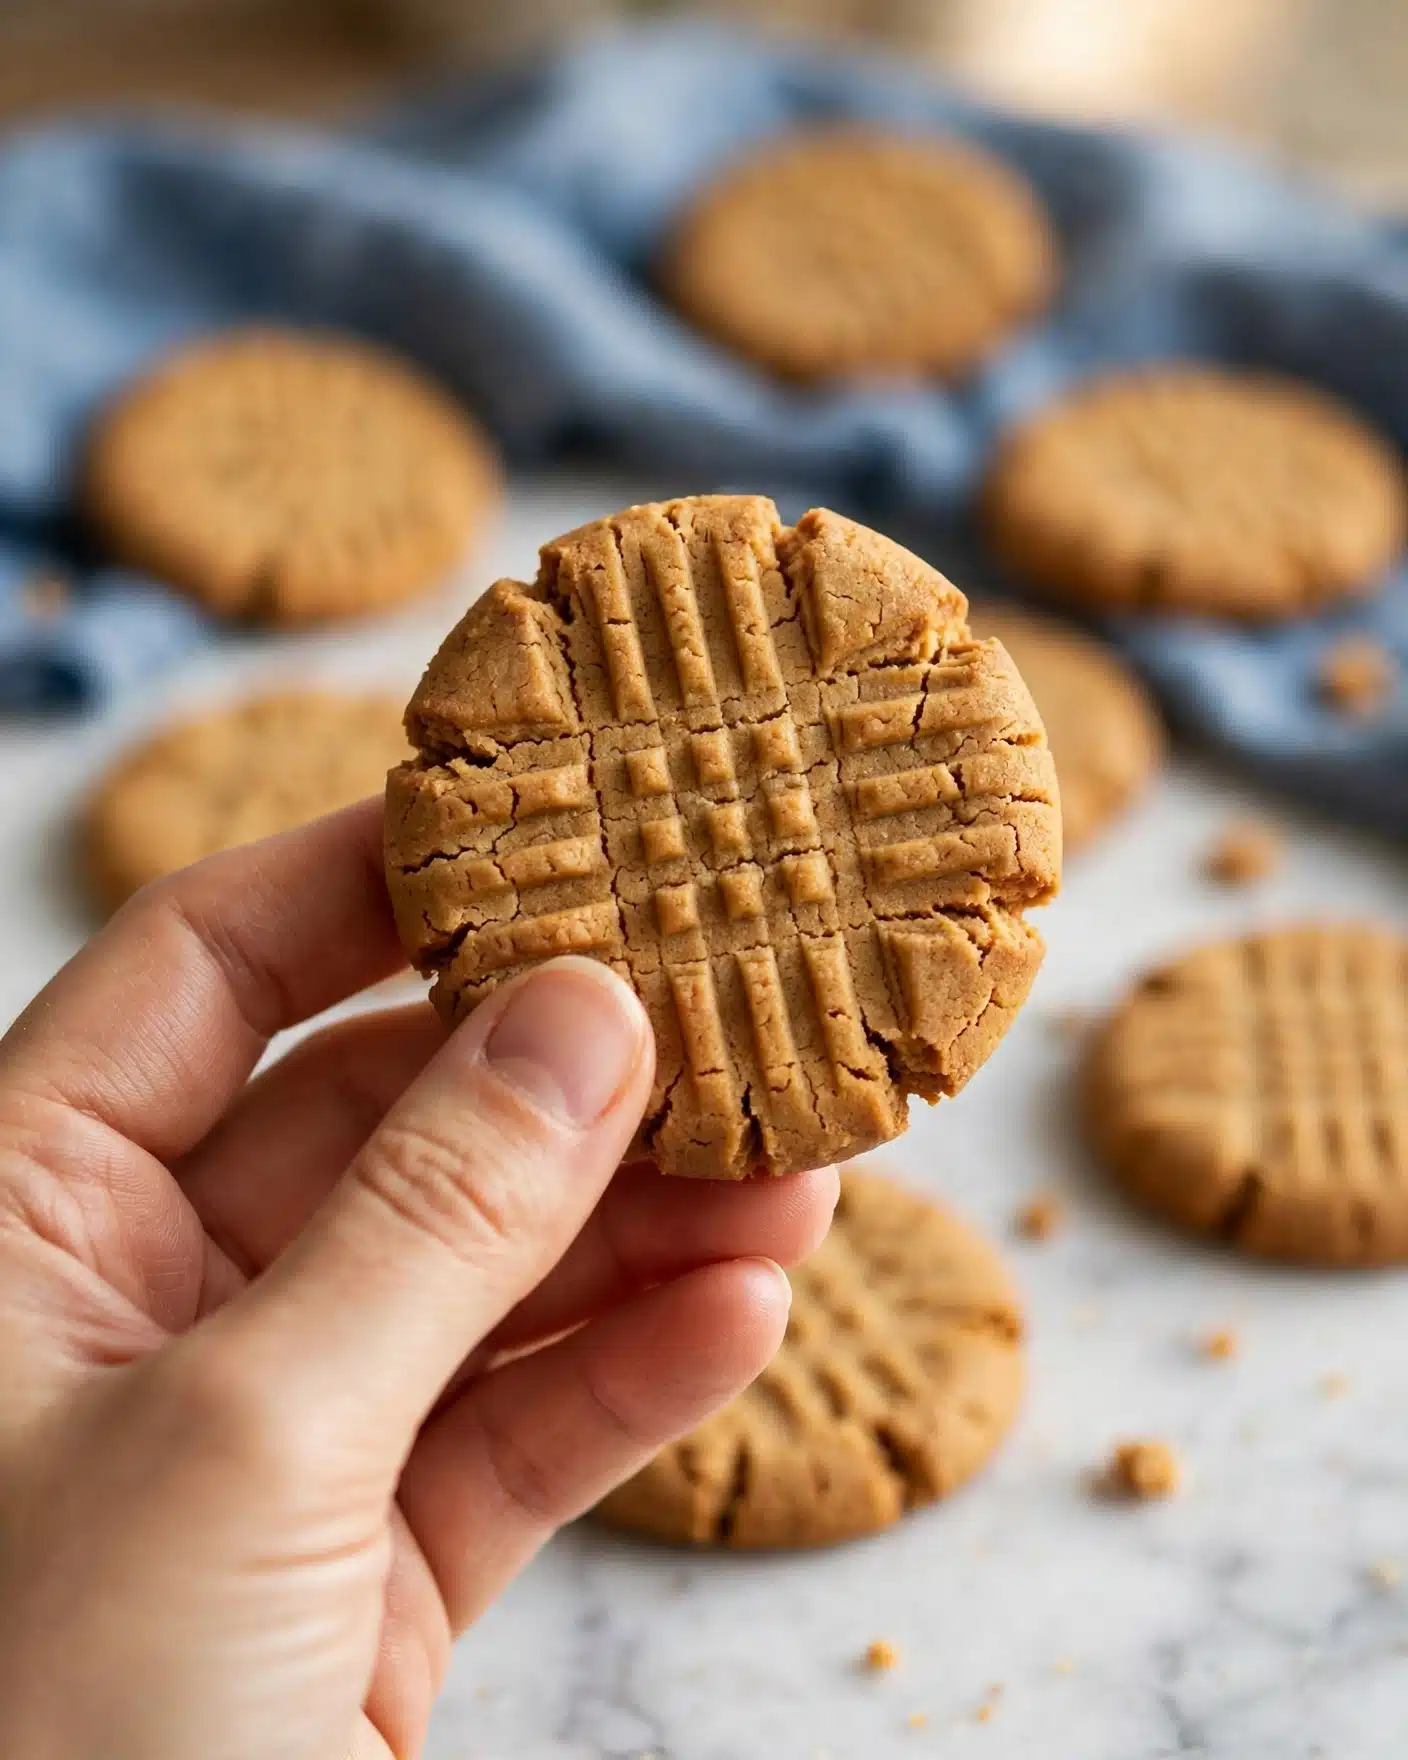
I love serving these peanut butter cookies with a classic cold glass of milk to complement their rich, nutty flavor. They’re also fantastic alongside a cup of hot coffee or tea when I want a cozy afternoon treat. For gatherings, I sometimes plate them on a pretty dish with a little sprinkle of flaky sea salt on top for an extra touch of sophistication.
Presentation-wise, these cookies look wonderful when stacked in small piles or arranged in a circle on a platter. I enjoy garnishing the serving plate with a few whole peanuts for that rustic, homemade vibe. These cookies are perfect for holiday cookie exchanges, casual snacks, or as a sweet finish to a weeknight dinner. They taste best when slightly warm, but I also like to let them come to room temperature for a softer bite.
For a fun twist at parties or family nights, try pairing them with a milk-based cocktail or a peanut butter-flavored hot chocolate for an indulgent treat. No matter how you serve them, these cookies feel special yet comforting every time.
Variations
If you want to switch things up, I’ve found a few great ways to customize this Easy Old-Fashioned Peanut Butter Cookies Recipe. For example, swapping creamy peanut butter for chunky adds a delightful crunch and extra texture. You can also mix in chocolate chips or chopped peanuts if you’re feeling adventurous.
For those with dietary needs, I recommend trying a gluten-free all-purpose flour blend in place of regular flour to make these cookies gluten-free without sacrificing texture. To make a vegan version, substitute the butter with a plant-based alternative and use flax eggs or another egg substitute—I’ve had success with these swaps, and the flavor still shines.
If you want to experiment with baking methods, these dough balls also work well dropped onto a baking stone or baked at slightly lower temperatures for a chewier cookie. I love that this recipe is so forgiving and adaptable, making it a perfect base for personalization!
Storage and Reheating
Storing Leftovers
I store leftover peanut butter cookies in an airtight container at room temperature to keep them soft and fresh for about 4 to 5 days. If you want to extend their life, placing a slice of bread in the container helps keep the cookies from drying out by adding moisture back into the air.
Freezing
These cookies freeze beautifully! I like to freeze the baked cookies in a single layer on a baking sheet first, then transfer them into a sealed freezer-safe container or zip-top bag. They keep well in the freezer for up to 2 months. For quicker prep, you can also freeze the cookie dough balls and bake them fresh from frozen—just add a couple of extra minutes to the bake time.
Reheating
To reheat, I pop the cookies in the microwave for about 10 to 15 seconds to warm them gently and soften their texture. Avoid overheating them or using a toaster oven for long periods, as this can dry them out. Warming them just enough brings back that freshly baked, melt-in-your-mouth feel.
FAQs
Can I use natural peanut butter instead of creamy peanut butter?
You can, but natural peanut butter tends to be oilier and less stable, which might affect the texture of your cookies. If you use it, I recommend stirring it well to mix the oil back in before measuring, and possibly chilling the dough a bit before baking to reduce spreading.
Why do my peanut butter cookies sometimes turn out dry?
Dry cookies often result from overbaking or using too much flour. Make sure you measure the flour carefully and check your oven temperature with an oven thermometer to avoid baking longer than necessary. Removing the cookies when the tops are no longer glossy but still soft helps keep them moist.
Can I make these cookies without eggs?
Yes, you can substitute each egg with a flax egg (1 tablespoon ground flaxseed mixed with 3 tablespoons water, chilled) or other egg replacements suitable for baking. This works well to maintain binding and moisture.
How do I get the classic cross-hatch pattern on top of the cookies?
Simply use the tines of a fork to gently press down on each dough ball twice—once vertically and once horizontally—right before baking. This flattens the cookies slightly and creates that signature textured pattern.
What can I add to make my peanut butter cookies more decadent?
I love adding chocolate chips, chopped pecans, or even a sprinkle of sea salt on top before baking. A drizzle of melted chocolate or a dusting of powdered sugar after baking also elevates the cookies for special occasions.
Conclusion
I genuinely hope you give this Easy Old-Fashioned Peanut Butter Cookies Recipe a try soon. It’s a simple, dependable recipe that yields irresistibly soft, flavorful cookies every time. Baking these is an absolute joy for me, and I’m sure they’ll become a cherished favorite in your kitchen too. Nothing beats the satisfaction of sharing warm peanut butter cookies with loved ones—enjoy every bite!
Print
Easy Old-Fashioned Peanut Butter Cookies Recipe
- Prep Time: 10 minutes
- Cook Time: 13 minutes
- Total Time: 23 minutes
- Yield: 24 cookies
- Category: Dessert
- Method: Baking
- Cuisine: American
Description
This Easy Old-Fashioned Peanut Butter Cookies recipe delivers classic, soft, and chewy cookies bursting with rich peanut butter flavor. Perfectly sweetened with brown and granulated sugar, these cookies feature a delightful cross-hatch fork pattern and bake to golden brown perfection in just over 10 minutes. A simple and straightforward recipe ideal for cookie lovers craving a nostalgic treat.
Ingredients
Wet Ingredients
- 1 ¼ cups creamy peanut butter
- 1 cup salted butter (room temperature)
- 2 large eggs (room temperature)
- 1 ½ teaspoon vanilla extract
Sugars
- 1 ¼ cups light brown sugar (packed)
- ¾ cup granulated sugar
Dry Ingredients
- 2 cups all-purpose flour
- 1 teaspoon baking soda
Instructions
- Preheat Oven: Preheat your oven to 350°F (175°C). Line baking sheets with parchment paper or silicone liners to ensure your cookies do not stick and for easy cleanup.
- Mix Peanut Butter and Butter: In a large bowl, use a stand mixer or hand mixer to beat the creamy peanut butter together with the room temperature salted butter until the mixture is smooth and well combined.
- Add Sugars: Gradually add the light brown sugar and granulated sugar to the peanut butter-butter mixture. Beat the ingredients until the mixture becomes fluffy, indicating that the sugars are well incorporated and air has been incorporated for texture.
- Incorporate Eggs and Vanilla: Add the eggs one at a time, beating after each addition to combine well. Then mix in the vanilla extract to enhance the flavor of the dough.
- Combine Dry Ingredients: In a separate medium bowl, whisk together the all-purpose flour and baking soda until evenly mixed. This ensures even distribution of the leavening agent.
- Mix Dry and Wet Ingredients: Slowly add the dry ingredients to the wet mixture. Stir until just combined to avoid overmixing, scraping down the sides of the bowl as necessary to ensure all flour is incorporated.
- Shape Cookies: Using a spoon or cookie scoop, portion the dough into 2-tablespoon size balls. Place them about 3 inches apart on the prepared baking sheets to allow room for spreading.
- Create Cross-Hatch Pattern: Gently press down each dough ball with a fork in a cross-hatch pattern. This traditional design also helps the cookies bake evenly.
- Bake: Bake the cookies in the preheated oven for 12-13 minutes or until they turn golden brown and the tops are no longer glossy, indicating they are fully baked but still soft inside.
- Cool Cookies: Let the cookies cool on the baking sheet for about 5 minutes to set. Then transfer them to a wire rack to cool completely before serving or storing.
Notes
- Room temperature butter and eggs help create a smooth batter and ensure proper mixing.
- For a chewier texture, slightly underbake the cookies and allow them to cool on the baking sheet.
- Use parchment paper or silicone liners for easy cookie removal and baking sheet protection.
- Store cookies in an airtight container at room temperature for up to one week or freeze for longer storage.
- To make these cookies gluten-free, substitute the all-purpose flour with a gluten-free flour blend designed for baking.


Leave a Reply