
I absolutely love putting together this Sheet Pan Fried Rice Recipe whenever I need a comforting yet easy meal that delivers big on flavor and feeds a crowd. It’s one of those recipes I turn to when I want classic fried rice vibes with minimal fuss but maximum taste. Using a sheet pan means everything cooks evenly in the oven without nonstop stove stirring, and the combination of fresh veggies, just the right soy sauce blend, and fluffy eggs makes every bite so delicious. I’m excited to share how simple and satisfying this dish is, whether for a weeknight dinner or a casual gathering.
Why You'll Love This Sheet Pan Fried Rice Recipe
What truly sets this recipe apart for me is how beautifully balanced the flavors are. The soy sauce base brings the perfect savory umami punch, while the fresh diced carrots, celery, and sweet corn add brightness and a slightly crunchy texture that keeps things fun to eat. The little bit of garlic and green onions at the end elevate the rice with fresh, aromatic layers that make every forkful addictive. Unlike takeout versions that rely on heavy oils and shortcuts, this sheet pan method feels lighter but still rich and satisfying.
Another thing I really appreciate is how hassle-free the preparation is. Instead of babysitting a hot wok or skillet, I mix everything in a big bowl, spread it on a sheet pan, and pop it in the oven. It’s almost effortless and perfect for busy days when I want to spend less time actively cooking and more time savoring the meal or catching up with family. Plus, the hands-off baking means I can multitask around the kitchen, prepping drinks or setting the table.
This recipe is incredibly versatile and crowd-pleasing too. I’ve served it at casual dinners, potlucks, and even impromptu lunch get-togethers. It’s one of those dishes that appeals to both kids and adults, and because it makes eight servings, it’s great when feeding a family or having friends over. I also like that the ingredients are common pantry and fridge staples, so I can whip this up anytime without a special trip to the store.
Ingredients You'll Need
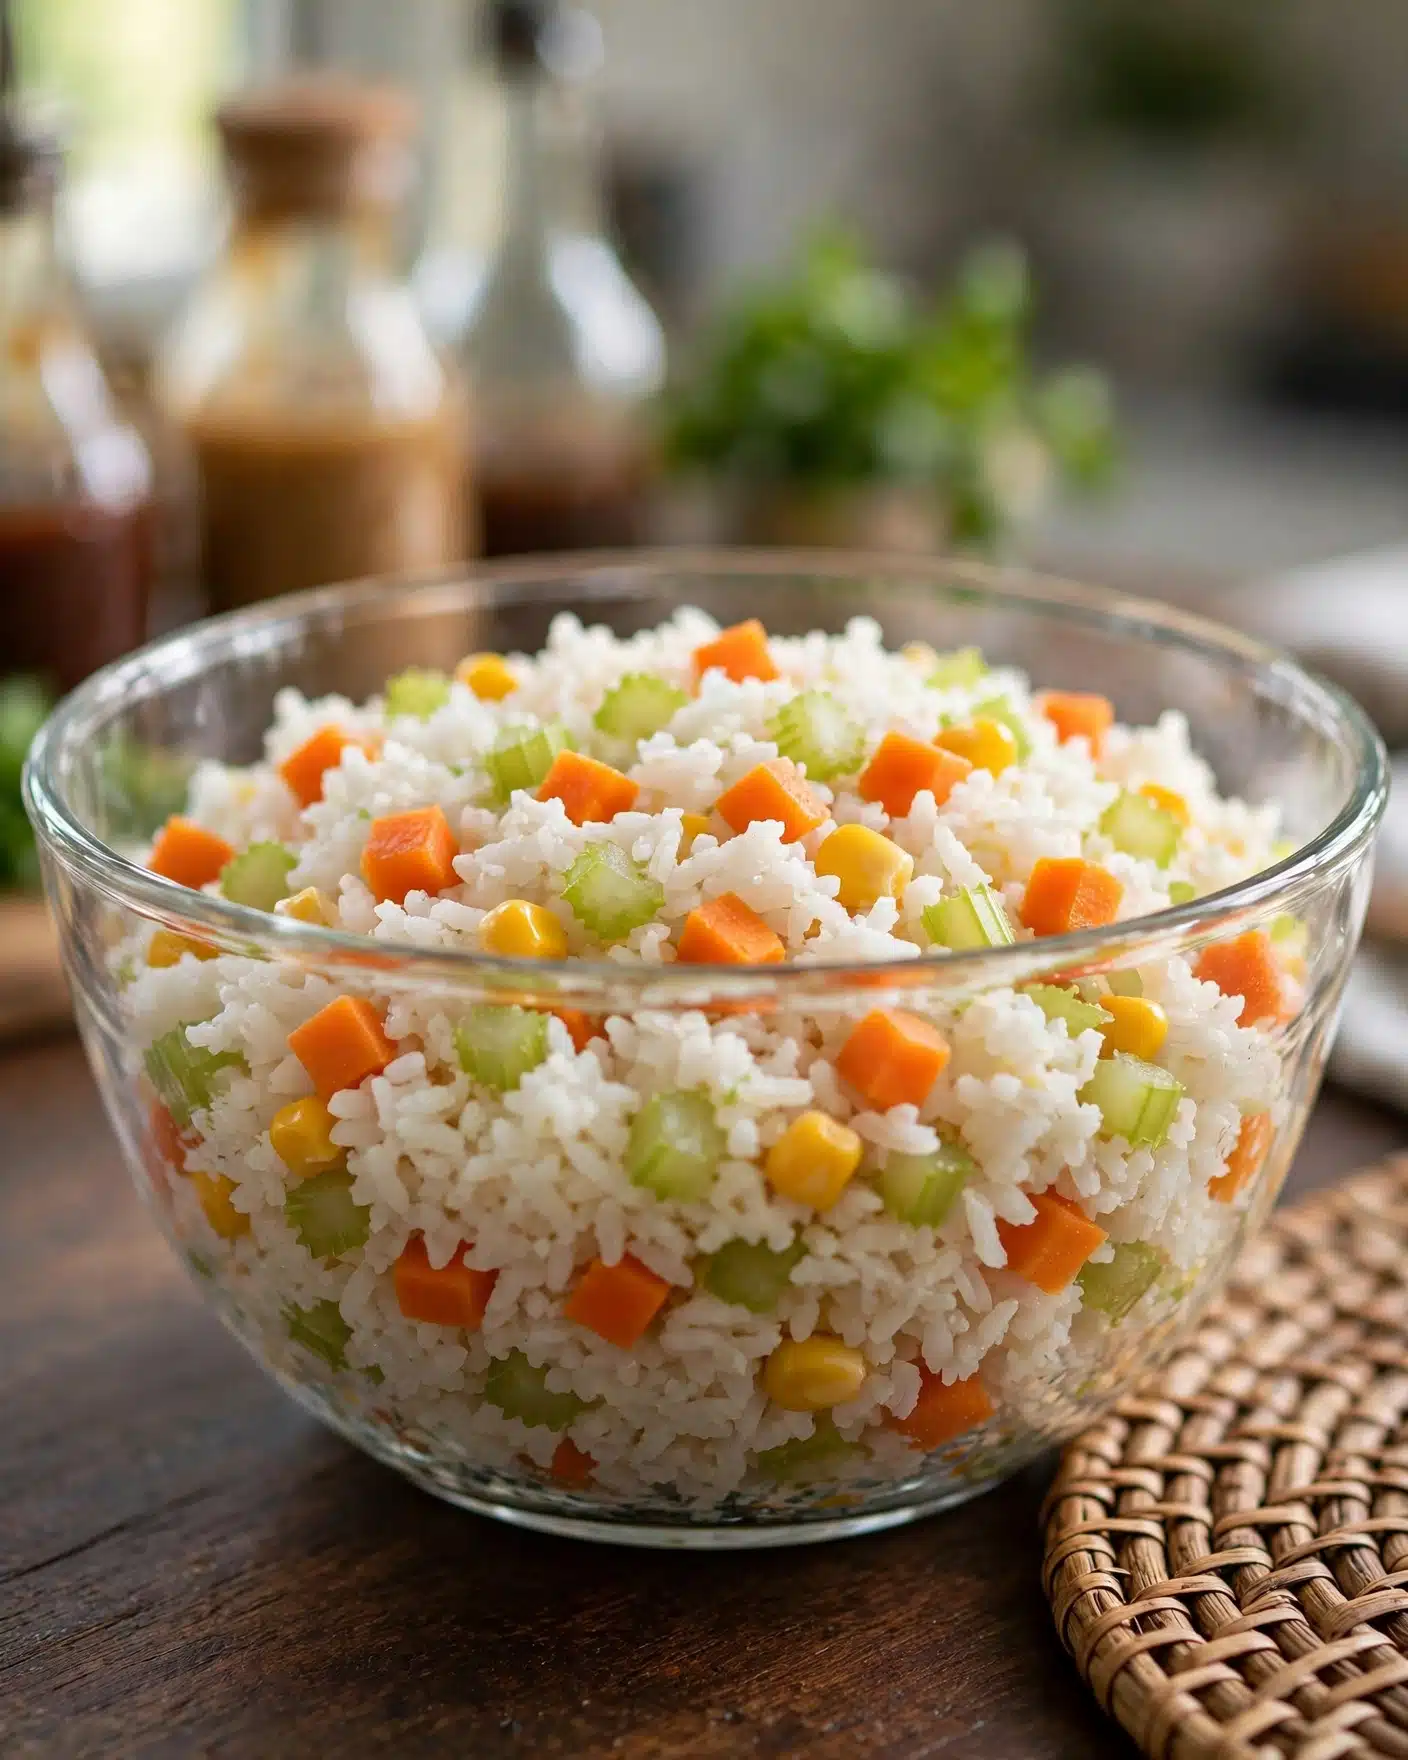
These ingredients are straightforward yet essential to building the flavor, texture, and color that make this Sheet Pan Fried Rice Recipe stand out. Each one adds its own special touch, from the savory soy sauce blend to the fresh crunch of the veggies and the fluffy richness of the eggs.
TIP : You'll find the full list of ingredients and measurements in the recipe card below
- Soy sauce: This brings the perfect salty, umami base that infuses the whole dish.
- Canola or vegetable oil: Adds a light richness without overpowering the other flavors.
- Water: Helps balance and spread the soy sauce evenly through the rice.
- Cooked rice (white or brown): The heart of the dish — using day-old rice works best for fluffy texture.
- Diced carrot: Adds subtle sweetness and a nice pop of color.
- Diced onion: Provides a savory depth and a little bite.
- Diced celery: Contributes a fresh, slightly crunchy texture that brightens the dish.
- Frozen corn, thawed: Sweet bursts that contrast beautifully with the savory notes.
- Minced garlic: Gives a fragrant backbone to the flavor profile.
- Lightly beaten eggs: Added near the end for fluffy, tender richness.
- Sliced green onion: Sprinkled on top for bright, fresh flavor and a colorful garnish.
- Salt & pepper: To taste, enhancing all the ingredients without overpowering.
Directions
Step 1: Start by whisking together the soy sauce, canola or vegetable oil, and water in a small bowl. This sauce mixture is what ties all the flavors together.
Step 2: Reserve 2 tablespoons of your soy sauce mixture in a separate small bowl and set it aside for adding at the end, so the dish finishes with a bright, fresh hit.
Step 3: In a large mixing bowl, combine the cooked rice with diced carrot, onion, celery, thawed frozen corn, and minced garlic. Stir everything gently but thoroughly so each grain of rice is mixed with the veggies.
Step 4: Pour the remaining soy sauce mixture over the rice and vegetable blend and toss well to coat evenly. This step infuses the rice with that beloved fried rice flavor.
Step 5: Lightly spray a large sheet pan with non-stick cooking spray to prevent sticking. Spread the coated rice mixture out evenly over the sheet pan in a thin layer to promote even baking.
Step 6: Bake the rice at 400 degrees Fahrenheit for about 20 minutes. Be sure to stir the rice once halfway through to ensure even cooking and prevent any edges from burning.
Step 7: After 20 minutes, remove the sheet pan from the oven and drizzle the lightly beaten eggs evenly over the top of the rice mixture. Return the pan to the oven and bake for an additional 5 minutes to gently cook the eggs.
Step 8: Take the pan out again and stir the rice, breaking up any large chunks of cooked egg. Then drizzle on the reserved 2 tablespoons of soy sauce mixture and stir through to coat the rice one last time.
Step 9: Finally, add the sliced green onions and season with salt and pepper to taste. Give it a final stir and you’re ready to serve a delicious batch of sheet pan fried rice!
Servings and Timing
This Sheet Pan Fried Rice Recipe makes approximately 8 generous servings, perfect for sharing with family or friends. The prep time is quick — around 10 minutes to chop veggies and mix ingredients. Cooking takes about 25 minutes in total, with 20 minutes initial baking and 5 minutes after adding the eggs. Altogether, you’re looking at roughly 40 minutes from start to finish. No additional resting time is needed, so you can dive in as soon as it’s out of the oven and garnished.
How to Serve This Sheet Pan Fried Rice Recipe

Whenever I serve this sheet pan fried rice, I love pairing it with simple, fresh accompaniments that balance the savory richness. A crisp green salad dressed with a tangy citrus vinaigrette or a side of steamed broccoli works beautifully to add brightness. For something heartier, crispy spring rolls or grilled chicken satay complement the rice’s flavors perfectly. The beauty is how adaptable it is — I’ve even enjoyed it alongside spicy Szechuan-style tofu or shrimp for a special twist.
Garnishing is also a key step to elevate presentation and flavor. I always sprinkle extra sliced green onions or even toasted sesame seeds on top before serving. A squeeze of lime juice adds a fantastic fresh zing if you want to brighten the flavors further. You can serve the rice warm straight from the oven for the best texture — it’s fluffy with just the right slight crispiness on the edges. It holds up nicely if you need to keep it warm for a family-style meal, too.
For beverages, I find a light white wine like Pinot Grigio or a crisp lager beer pairs nicely without overpowering the dish. Non-alcoholic options like iced jasmine tea or a sparkling citrus mocktail are fantastic for a refreshing counterpoint. This rice dish feels right at home for casual weeknight dinners, weekend lunch gatherings, or even potluck parties where you want something filling, crowd-pleasing, and fuss-free to share.
Variations
I really enjoy experimenting with this recipe to change it up depending on what I have on hand or my dietary mood. For example, swapping the veggies is easy — bell peppers, peas, or chopped spinach all make great additions or substitutes that add color and nutrition. You can also replace the soy sauce with tamari to make it gluten-free without any loss in flavor.
For those looking to keep it vegan, simply omit the eggs and maybe toss in some finely chopped mushrooms or diced firm tofu, which bakes beautifully alongside the rice. Alternatively, scrambling the eggs separately and folding them in right before serving gives a softer egg texture if you prefer stovetop style. Adding a touch of toasted sesame oil after baking can introduce a deep, nutty aroma that's irresistible.
If you want to bump up the spice and flavor, adding chili flakes or a drizzle of Sriracha after the baking step gives just the right kick. For a bit more protein, cooked diced chicken, shrimp, or even leftover rotisserie chicken tossed in before baking works wonderfully. This sheet pan method is incredibly flexible, so I encourage you to make this recipe your own and get creative!
Storage and Reheating
Storing Leftovers
After enjoying your sheet pan fried rice, I usually store any leftovers in airtight containers in the refrigerator. Glass containers with tight-fitting lids are my go-to for keeping the rice fresh and preventing odors from creeping in. Properly stored, leftovers will keep well for up to 3-4 days. Before sealing, make sure the rice has cooled to room temperature to avoid condensation which can lead to sogginess.
Freezing
You can absolutely freeze leftover sheet pan fried rice, which makes it an excellent make-ahead option. I portion the rice into freezer-safe containers or heavy-duty resealable bags, pressing out as much air as possible to preserve texture. It’s best to consume frozen fried rice within 2 months for optimal flavor. When freezing, avoid adding fresh garnishes like green onions — save those for when you reheat and serve.
Reheating
To reheat, I prefer using a skillet over medium heat with a small splash of water or oil. This helps revive some of the crispy edges and prevents the rice from drying out. Stir frequently until heated through. Alternatively, reheating in the oven wrapped in foil at 350 degrees Fahrenheit for about 10-15 minutes works well for larger portions. I recommend avoiding the microwave if possible since it can make the rice gummy. Adding a little fresh green onion or a drizzle of reserved soy sauce after reheating brings the flavors back to life.
FAQs
Can I use freshly cooked rice for this recipe?
While freshly cooked rice can work, I highly recommend using day-old rice that’s been chilled. Fresh rice tends to be too moist and clumps together, which can make the texture mushy when baked. Day-old rice dries out a bit, allowing each grain to stay separate and absorb flavors better.
What if I don’t have a large enough sheet pan?
If your sheet pan is small, you can either spread the rice mixture on two smaller pans and bake in batches or a larger oven-safe baking dish. Just make sure to spread the rice in a thin, even layer for even cooking and stir halfway through baking for best results.
Is there a way to make this recipe spicier?
Definitely! You can add chili flakes or a dash of hot sauce like Sriracha mixed into the soy sauce or drizzled over the rice after baking. Fresh diced jalapeños or a sprinkle of cayenne pepper in the rice mixture also provide a kick if you love spice.
Can this dish be made gluten-free?
Yes, simply substitute regular soy sauce with tamari or a gluten-free soy sauce alternative to keep the classic flavor without gluten. All other ingredients in the recipe are naturally gluten-free, making this an easy swap for gluten-sensitive eaters.
How can I make this more protein-packed?
Adding cooked diced chicken, shrimp, or tofu before baking is a great way to boost protein. Alternatively, serving the fried rice alongside grilled meats or a fried egg on top turns it into a hearty, complete meal. You can also increase the egg quantity in the recipe to add more richness and protein.
Conclusion
I’m really excited for you to try this Sheet Pan Fried Rice Recipe because it’s one of those dishes that feels both comforting and impressive while being incredibly easy to make. Whether you’re feeding a crowd or just want to enjoy a tasty, hands-off meal, this recipe hits all the right notes. I promise once you experience how delicious and convenient sheet pan fried rice can be, it will become a reliable favorite in your cooking rotation just like it is in mine!
Print
Sheet Pan Fried Rice Recipe
- Prep Time: 10 minutes
- Cook Time: 30 minutes
- Total Time: 40 minutes
- Yield: 8 servings
- Category: Main Dish
- Method: Baking
- Cuisine: Asian
Description
A quick and easy sheet pan fried rice recipe that combines colorful vegetables and savory soy sauce baked to perfection. This hands-off method uses the oven to create a flavorful, fluffy fried rice dish with minimal cleanup, making it perfect for busy weeknights.
Ingredients
Sauce
- ¼ cup soy sauce
- 2 tablespoons canola or vegetable oil
- 2 tablespoons water
Main Ingredients
- 3 to 4 cups cooked rice (white or brown)
- 1 cup diced carrot
- 1 small- to medium-size onion, diced
- 1 stalk celery, diced
- 1 cup frozen corn, thawed
- 1 clove garlic, minced
- 2 large eggs, lightly beaten
- ½ cup sliced green onion
- Salt and pepper, to taste
Instructions
- Prepare the sauce: In a small bowl, whisk together soy sauce, canola or vegetable oil, and water until well combined.
- Reserve some sauce: Set aside 2 tablespoons of this sauce mixture in a separate small bowl for later use.
- Combine vegetables and rice: In a large bowl, mix together cooked rice, diced carrot, onion, celery, thawed corn, and minced garlic until evenly combined.
- Add sauce to rice mixture: Pour in the soy sauce mixture, minus the reserved 2 tablespoons, and toss thoroughly to coat the rice and vegetables evenly.
- Prepare baking sheet: Spray a large sheet pan with non-stick cooking spray and spread the rice mixture evenly over the surface.
- Bake the rice: Place the sheet pan in a preheated oven at 400°F and bake for 20 minutes, stirring the rice halfway through to ensure even cooking.
- Add beaten eggs: Remove the sheet pan from the oven, drizzle the beaten eggs over the rice, then return it to the oven and bake for an additional 5 minutes to cook the eggs through.
- Finish the rice: Take the pan out, stir well to break up any large pieces of cooked egg, then drizzle with the reserved 2 tablespoons of soy sauce mixture and stir again to coat evenly.
- Garnish and season: Stir in the sliced green onions and season with salt and pepper to taste before serving.
Notes
- You can use either white or brown rice, but day-old rice works best to avoid sogginess.
- Feel free to customize with other diced vegetables such as bell peppers or peas.
- If preferred, substitute soy sauce with a gluten-free tamari for a gluten-free version.
- Stirring halfway through baking prevents the rice from drying out and promotes even cooking.
- Make sure to break up the cooked egg well to evenly distribute it throughout the dish.




Leave a Reply